
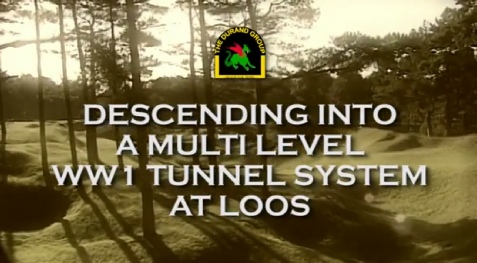
THE DURAND GROUP


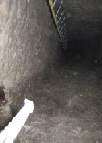
The Top of the Vertical Shaft

© copyright of the Durand Group
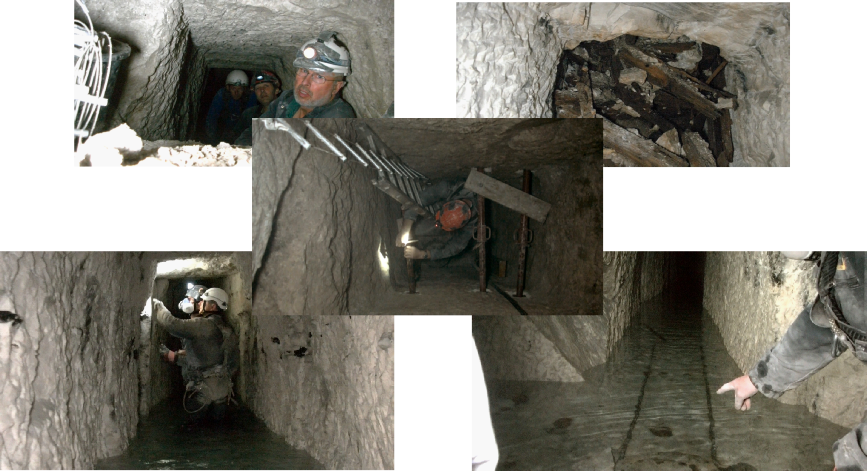
The shaft to the deep deep system drops vertically. The standard of workmanship is excellent - a tribute to the original tunnelers
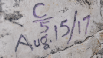
A Gallery with Artefacts


© copyright of the Durand Group
Within the fighting tunnels a gallery exists. The chalk has 2 ledges cut into it that may have been sleeping areas. Within the gallery a number of artefacts can be found still in place.
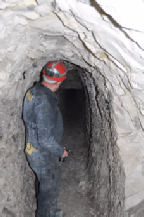
The Start of the Fighting Tunnels

© copyright of the Durand Group
Moving away from the main subway passage takes you through to the fighting tunnels. These tunnels were designed to access the mine charges and
Are much smaller and narrower then the subway passage.
.
The Tunnel Entrance

© copyright of the Durand Group
Located in a public park, the entrance is secured behind
Steel door to prevent un-authorised access.
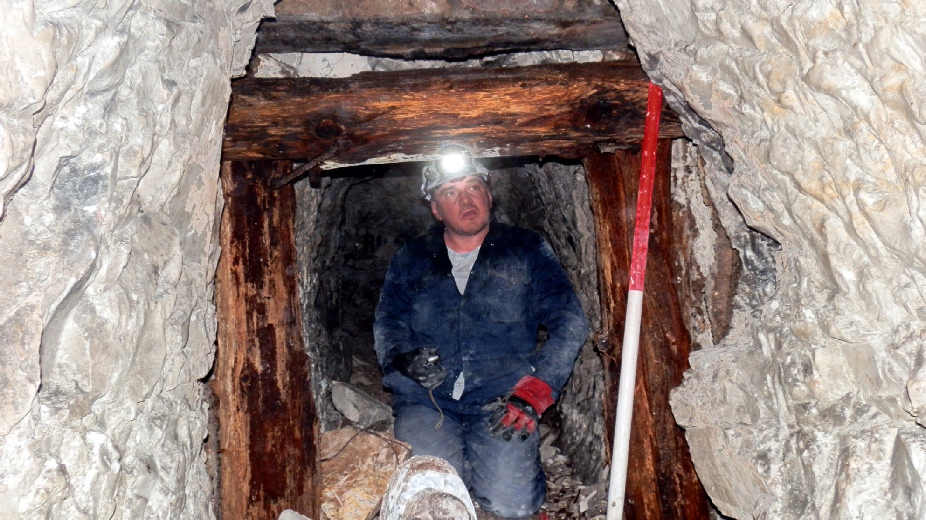
The Main Subway
© copyright of the Durand Group
A Durand Group member looking down the subway passage. This is a communication passage where troops would have sheltered before attacks. During the wait inside the tunnel many had time to carve graffiti inside the tunnels. The graffiti in the picture on the right is of Canadian origin.
The Quarry

© copyright of the Durand Group
Once a sizeable quarry with dugouts located in the
quarry walls, this has now been filled in and the A21
road passes over the top.

© copyright of the Durand Group
The incline ends at the main subway entrance. Once intended to be used as a mushroom farm but never used. The local area once had many coal mines, some original coal mining pit props have been used to support the gallery roof.
The Bottom of the Entrance Incline

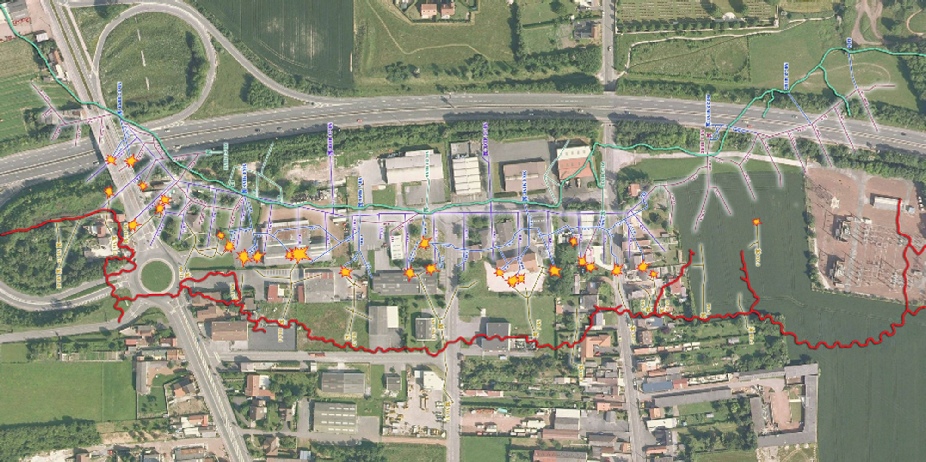
Location: Loos-en-Gohelle, Pas de Calais, France
Project Detail: Excavation and investigation of a British multi-level tunnel system containing listening and fighting
galleries, a brigade battle headquarters and several internal and external shafts and subways.
Context: After the unsuccessful and costly Battle at Loos in September 1915 - the first major British offensive of the war - 173 Tunnelling Company, Royal Engineers began sinking shafts and driving galleries to counter an enemy mining initiative immediately to the south and east of the town. They did this from existing galleries begun by 17th Division of the French XXI Corps between October and December 1915. From January 1916 to April 1917 the tunnellers waged war underground - at three levels - MAIN (35 ft), DEEP (60 ft) and DEEP DEEP (115 ft), later supported by the newly raised 258 Tunnelling Company RE, who deployed to the Hill 70 mining sector in April 1916. Together with Hulluch to the north, these two sectors were then taken over by 3rd Australian Tunnelling Company until September 1918. By that time the enemy mining threat had ceased almost completely and the front was relatively quiet.
Results: The Group has accessed elements of all three levels - although the lowest level proved to be a considerable engineering challenge - as the shaft leading to it needed to be excavated completely (due to infill from the surface), re-lined with 80 ft of timber and supported by acrows. To make matters more difficult for the Group, this level is also under water for much of the year, due rain washing in from the fields to the south.
Educational resources: Informational material has been prepared for the museum of the Association sur les traces de la Grande Guerre in Loos-en-Gohelle, in the form of mobile displays.


All materiel on this site (except where indicated) is © Durand Group 2023